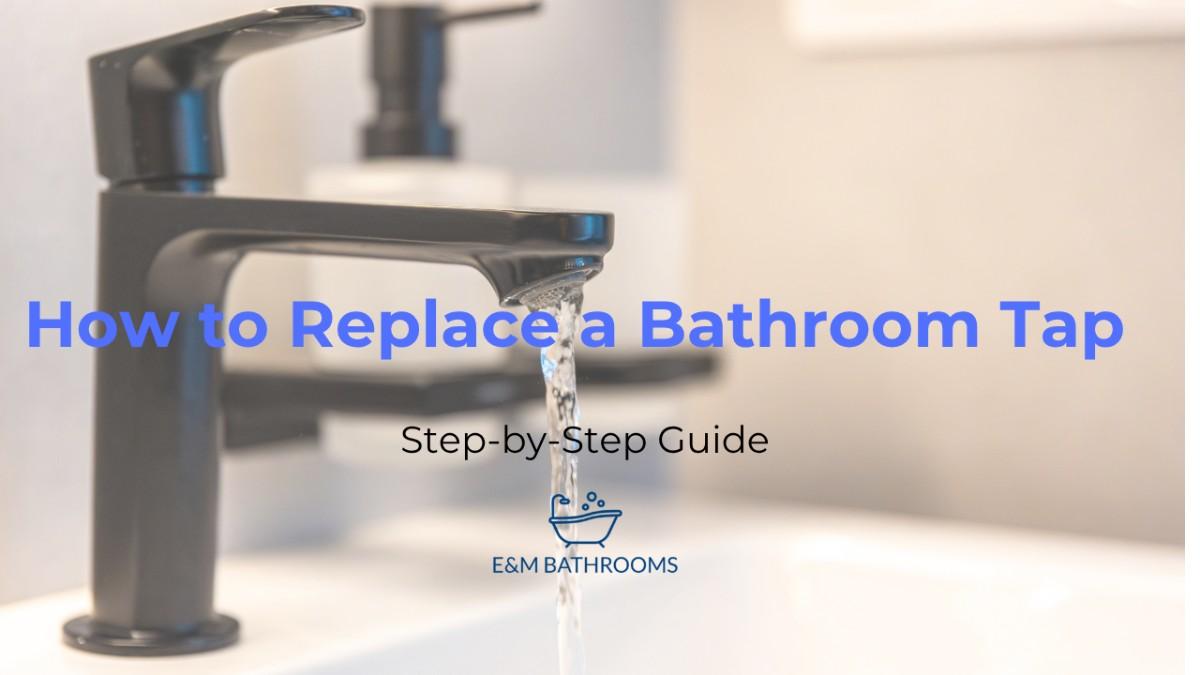
A dripping or outdated tap can ruin the look and feel of your whole washroom. Replacing it might seem like a job strictly for the professionals, but with the right guidance, it is entirely possible to do it yourself.
Whether you are dealing with a stubborn leak, upgrading to modern bathroom sink taps, or simply want to refresh your space, learning how to replace a bathroom tap is a brilliant DIY skill to master. You save money, gain confidence, and get exactly the look you want.
In this guide, we will walk you through everything you need to know. We cover the tools you need, the safety steps to take, and a clear step-by-step process to get your new tap flowing perfectly.
Tools Needed to Change Bathroom Taps
Before you dive under the sink, make sure you have the right equipment. Having everything within reach will make the job much smoother. Here are the tools needed to change bathroom taps:
- Adjustable spanner: Essential for loosening and tightening the retaining nut on your tap.
- Basin wrench (tap spanner): A must-have tool for reaching tight spaces behind the sink basin.
- Plumbing grips or pliers: Useful for holding pipes steady while you work.
- Screwdriver: Often needed for removing tap handles or securing specific fixtures.
- PTFE tape (Teflon tape): This creates a watertight seal on threaded pipe joints to prevent leaks.
- Towels and a small bucket: To catch any residual water trapped in the pipes.
You will also need your new tap kit, which usually includes flexible tap connectors and rubber washers.
Before You Start (Important Safety Steps)
Safety and preparation are key. The last thing you want is a flooded floor. Before you start turning any bolts, you must turn off your water supply.
Look beneath your sink for isolation valves on the hot and cold water pipes. These look like small screws set into the pipework. Turn the screw a quarter turn so the slot sits horizontally across the pipe. If you do not have isolation valves, you will need to turn off your main stopcock, usually found under the kitchen sink or where the water enters your home.
Once the water is off, open your current taps to drain any remaining water from the water supply system. Place a towel and bucket under the sink to catch any drips.
Step-by-Step Guide to Replacing a Bathroom Tap
With your water turned off and tools at the ready, you can officially begin. Follow these simple steps to learn how to change a bathroom tap UK style.
Step 1 – Disconnect the Water Supply
Use your adjustable spanner to loosen the nuts connecting the water supply pipes to the tap tails. Have your bucket ready, as a little bit of water will likely spill out. Turn the nuts anti-clockwise until they come completely free.
Step 2 – Remove the Old Tap
This is where your basin wrench comes in handy. Reach up behind the basin to locate the retaining nut holding the tap in place. Grip the nut with the wrench and turn it anti-clockwise to loosen it. Once removed, you can lift the old tap straight up and out of the tap hole.
Step 3 – Clean the Tap Hole Area
Over time, grime, limescale, and old sealant can build up around the tap hole. Give the area a thorough clean using a limescale remover and an old cloth. You need a completely clean, smooth surface so your new tap can form a watertight seal.
Step 4 – Install the New Tap
Take your new tap and feed the flexible tap connectors down through the tap hole. Make sure the rubber or silicone washer sits neatly between the base of the tap and the sink basin to prevent water from seeping through.
From underneath the sink, slide the retaining washer and nut over the tails. Hand-tighten the nut as much as you can, then use your basin wrench to secure it firmly. Be careful not to overtighten, as this can crack ceramic basins.
Step 5 – Connect the Water Supply
Now it is time to reconnect your hot and cold water pipes. Wrap a small amount of PTFE tape around the threads of the connections to ensure a secure, watertight seal. Reattach the supply pipes to the new tap connectors. Use your adjustable spanner to tighten the compression fittings securely.
Step 6 – Test for Leaks
Turn your isolation valves back on (or open the main stopcock). Keep a close eye on all the connections under the sink. If you spot any drips, simply tighten the nuts slightly more with your spanner. Finally, turn on your new tap to clear any trapped air in the pipes. If the water flows nicely and nothing leaks underneath, you have successfully completed the job.
Special Scenarios
Sometimes, your setup might be a little more complicated than a standard sink basin. Here is how to handle a few common variations.
How to Replace Bath Taps Against a Wall
Figuring out how to replace bath taps against a wall can be tricky because access is very restricted. You will heavily rely on an extended basin wrench to reach up behind the bath panel. If the gap is too narrow, you might need to carefully remove the bath panel to access the pipework properly.
How to Change Bath Taps Without Removing the Bath
Wondering how to change bath taps without removing the bath? As long as you can remove the side panel of the bath, you should be able to access the retaining nuts and isolation valves. Laying a towel down and using a headlamp will make working in this dark, tight space much easier.
How to Replace Bath Taps with a Shower Mixer
Upgrading from standard pillar taps to a shower mixer is a great way to add functionality. The process of how to replace bath taps with shower mixer units is largely the same as a standard replacement. You simply need to ensure the distance between the two tap holes matches the pipe centres of your new mixer tap.
How to Change a Tap Head
If your tap is dripping but the main body looks fine, you might not need a full replacement. Learning how to change a tap head is a quick fix. Prise off the decorative cap on top of the handle, unscrew the handle, and use a spanner to remove the internal valve. Pop a new valve or rubber washer in, and reassemble.
Common Problems and Troubleshooting
Even with the best preparation, you might run into a few minor hiccups.
- Corroded or stuck nuts: If the old retaining nut simply will not budge, apply a penetrating oil spray. Let it sit for 15 minutes before trying again.
- Wobbly tap: If your new tap moves when you touch it, the retaining nut under the sink is not tight enough. Give it another turn with your basin wrench.
- Spluttering water flow: This is usually just trapped air in the pipes. Let the tap run for a minute or two until the flow is smooth. If the stream is messy, check the tap aerator at the spout to ensure it is screwed on correctly.
Can I Replace Bathroom Taps Myself?
Many people ask, “can I replace bathroom taps myself?” The answer is usually yes. For straightforward swaps on bathroom sink taps where isolation valves are already fitted, this is a highly rewarding DIY project that most beginners can handle safely.
However, if your pipework is very old, you lack isolation valves, or you are looking to completely relocate your plumbing, it is best to call in an expert. Water damage from incorrect plumbing can be costly, so always know your limits.
Conclusion
Replacing a tap is an excellent way to breathe new life into your bathroom. By gathering the right tools, turning off your water supply, and following these steps carefully, you can upgrade your fixtures with complete confidence.
Of course, not every plumbing job goes exactly to plan. If you uncover complex pipework issues, or simply prefer to leave it to the professionals, we are here to help. At EM Bathrooms, we offer expert bathroom fitting and renovation services across Southport, Formby, Ormskirk, Preston, and Chorley. From simple tap replacements to full bathroom transformations, get in touch with our friendly team today to discuss your next project.