Introduction:
Changing bathroom taps might seem like a daunting task for many homeowners, but it’s actually a relatively simple DIY job that can be completed in a few hours with the right tools and instructions. Whether your taps are outdated, leaking, or simply in need of a style upgrade, replacing them is an effective way to refresh your bathroom and improve its functionality. In this comprehensive guide, we’ll walk you through the process of how to change bathroom taps, provide tips on choosing the right replacement, and address common issues that may arise along the way.
In addition to improving the aesthetics of your bathroom, new taps can enhance water efficiency and reduce leaks, which can ultimately save you money on your water bills. By following the step-by-step instructions outlined in this blog, you’ll be able to confidently tackle this home improvement project and give your bathroom a fresh new look.
Why Change Your Bathroom Taps?
Before diving into the how-to process, it’s important to understand the reasons why you might want to replace your bathroom taps. While the decision may be prompted by a leaky tap or poor performance, there are several other factors that could lead you to replace them.
1. Leaking or Dripping Taps:
One of the most common reasons for changing bathroom taps is a persistent leak or drip. A leaky tap can be annoying and waste a significant amount of water over time, which could lead to higher water bills. Changing your taps can help eliminate the problem and prevent further water wastage.
2. Outdated Style or Design:
Bathroom designs evolve over time, and your existing taps may no longer fit the modern aesthetic you’re after. Replacing outdated taps can give your bathroom an instant facelift without the need for a full renovation.
3. Better Water Flow or Efficiency:
If your current taps don’t provide optimal water flow or have poor pressure, replacing them with newer models can significantly improve water flow, offering a better experience for washing hands, brushing teeth, or showering.
4. Improving Functionality:
Old taps might not be as easy to use or may not work properly. With newer taps, you can enjoy better ease of use, whether they feature a single lever or ergonomic handles for improved control over water temperature and flow.
Types of Bathroom Taps You Can Choose From
Before changing your bathroom taps, it’s essential to choose the right type that fits both your needs and your bathroom’s style. Here are some of the most common types of bathroom taps available:
1. Basin Taps:
These are the most common taps found in bathrooms, usually installed on a basin. They come in various styles, including traditional two-handle taps or modern single-lever mixers. They offer flexibility in terms of water control and temperature regulation.
2. Mixer Taps:
Mixer taps combine both hot and cold water into a single outlet, making it easier to control the temperature. These taps are ideal for both bathroom sinks and showers, offering convenience and comfort.
3. Wall-Mounted Taps:
For a more contemporary look, you might opt for wall-mounted taps. These taps are mounted on the wall above the sink, giving your bathroom a sleek, minimalist appearance. They also make cleaning the sink area much easier.
4. Bath Taps:
If you have a bathtub in your bathroom, you’ll need bath taps that can handle larger volumes of water. Bath taps often have a wider opening and are designed to fill the tub quickly. They can also be combined with showerheads for a more versatile bathing experience.
5. Deck-Mounted Taps:
These taps are mounted directly onto the surface of the basin or bathtub. They offer a secure and stylish option for most bathrooms, with a variety of designs available to match the overall look of your space.
Tools and Materials You’ll Need
Before you start replacing your bathroom taps, make sure you have the right tools and materials to complete the job. Here’s a list of everything you’ll need for the job:
-
Adjustable Wrench
-
Basin Wrench
-
Plumber’s Tape (Teflon tape)
-
Screwdriver
-
Replacement Bathroom Taps
-
Bucket or Towels (for catching water spills)
-
Pipe Sealing Compound (if needed)
-
Rubber Washers (for sealing)
Having all the tools on hand will ensure that the installation goes smoothly and efficiently. Make sure to shut off the water supply before starting the installation to avoid any unwanted water damage.
Step-by-Step Guide on How to Change Bathroom Taps
Step 1: Turn Off the Water Supply
The first and most important step in replacing bathroom taps is to turn off the water supply. Locate the shutoff valves under the sink or near the bathroom’s water supply line. Turn these valves clockwise to stop the water flow.
Step 2: Remove the Old Taps
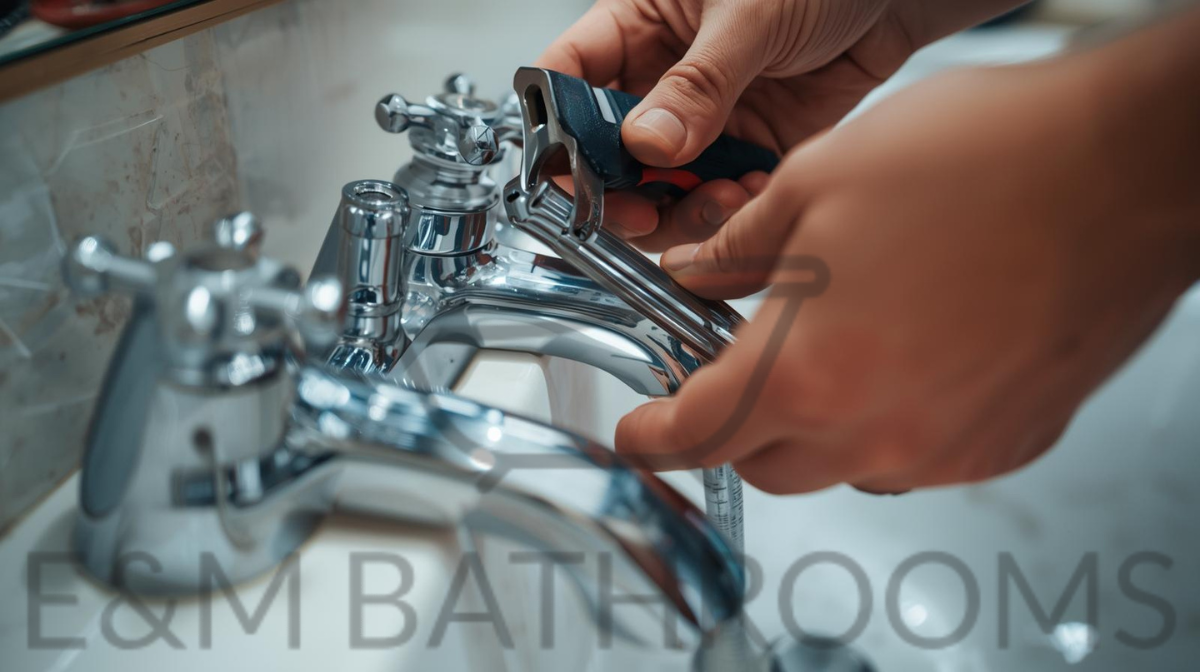
Using your adjustable wrench, begin by loosening the nuts that hold the old taps in place. For some taps, you may need a basin wrench to reach the tight spots under the sink. Once the nuts are loose, remove the old taps carefully, making sure no water spills out.
Step 3: Clean the Area
Once the old taps are removed, clean the sink or bath area to remove any old sealing compound, debris, or grime. This will ensure that the new taps are installed securely and prevent any water leakage.
Step 4: Install the New Taps
Position the new taps over the holes in the sink or bath. If you’re using mixer taps, make sure they are positioned correctly with the hot and cold water connectors properly aligned. Tighten the nuts using your wrench to secure the taps in place.
Step 5: Reconnect the Water Supply
After the new taps are securely installed, reconnect the water supply lines. Make sure all connections are tight and properly sealed with plumber’s tape to avoid leaks.
Step 6: Test the New Taps
Turn the water supply back on and test your new taps. Run both hot and cold water through the taps to ensure proper function and check for any leaks. If you notice any leaks, turn off the water supply again and tighten the connections.
Common Issues When Changing Bathroom Taps
Changing bathroom taps is usually a straightforward task, but there are a few common issues you may encounter during the process. Here are some solutions to potential problems:
1. Leaking Water Connections:
If the new taps leak, the problem is likely with the water connections. Ensure that all nuts are tightened correctly and that the seals are properly applied.
2. Stripped Threads:
If the threads on the tap or connector nuts are stripped, you may need to replace the damaged parts. Stripped threads can prevent a proper seal and result in leaks.
3. Water Pressure Issues:
If you notice low water pressure after replacing the taps, there may be a blockage in the water lines. Check the water supply connections and clean any debris that may have gotten into the lines.
How to Maintain Your New Bathroom Taps
Proper maintenance is essential to keeping your new bathroom taps functioning well for years to come. Here are some tips for maintaining your taps:
-
Regularly clean your taps to prevent mineral buildup and water stains.
-
Inspect the washers and seals to ensure they remain in good condition and replace them if necessary.
-
Avoid using harsh chemicals that could damage the finish of your taps.
-
Check for leaks periodically to ensure that there are no hidden issues with the connections.
Conclusion
Changing bathroom taps is a simple yet effective way to improve the functionality and appearance of your bathroom. By following the steps outlined in this guide, you can easily replace old or leaking taps with new, more efficient models. Remember to choose the right type of tap for your bathroom, gather all the necessary tools, and follow the installation instructions carefully. With a little time and effort, you’ll have your new taps installed and functioning perfectly.